Today, I will talk about the review process of journal papers and why it sometimes take so much time for a paper to be reviewed. It is a question that is often asked by young researchers, who are sometimes impatiently waiting for their journal papers to be published to graduate. I will first give a brief overview of the review process of journal papers and then explain what can go wrong.

An overview of the review process
The main steps of the review process are:
- STEP1: Initial screening and assignment to an editor: After submitting a paper to a journal, there will typically be a first screening of the paper performed by an assistant working for the journal. This is done to check the format of the paper and if there are some other issues such as plagiarism or if the paper has been submitted twice. If the paper does not pass this screening, it may be rejected directly. Otherwise, it will be send to an editor.
- STEP2: Inviting reviewers: The editor will then look at the manuscript and invite some appropriate reviewers to review the paper. The reviewers will either accept or decline to review the paper. Usually, a minimum number of reviewers is required. Thus, if there is not enough reviewers, the editor will receive a notification and will have to invite more reviewers until the minimum number of reviewers is attained. To speedup that process, an editor may pre-select a list of alternate reviewers that may be automatically invited when a person decline to review.
- STEP3: Reviewing the paper: The third step which is partly done in parallel to the second step is that reviewers will review the paper and submit their reviews. The editor will give them a deadline that is will vary depending on the journal. For example, some journal will give 1 or 2 months.
- STEP4: The decision: When all the reviews are completed, the editor will receive a notification. Then the editor will read the reviews and submit his decision such as to accept, reject, or request minor or minor revisions of the paper. It is also possible that the editor does not wait for all reviews to take a decision. For example, if the editor needs 4 reviews but two of them are “reject”, he will likely reject the paper without waiting for the 4 reviews.
- STEP5: Sending the notification: The decision will be sent to the authors. Then, if a revision is required, the authors will submit the revision and the process will start again from STEP1. If the paper is accepted, it will go in production. And if the paper is rejected, it will be the end.
What can go wrong?
Several things can go wrong an delay the review process:
- The editor is busy and waits to invite reviewers: A first problem is that after the editor receives the paper, he may not invite reviewers right away because he is busy with other things. Some editors are quite fast (for example, I always assign reviewers whithin 24 hours) but others will take a few weeks (this happened to me a few times).
- Many reviewers decline to review the paper: A second problem is that it is sometimes difficult for the editor to find suitable reviewers for a paper that agree to review. The reason is that some reviewers are busy (e.g. they already accepted to review other papers or have other things to do), have a conflict of interest or are just not interested in reading the paper. Thus, a reviewer may decline to review the paper. Hence, the editor may need to invite morereviewers to review the paper. Sometimes more than a dozen potential reviewers may have to be invited before enough reviewers will accept. For the papers that are on very specialized or unpopular topics, it may be more difficult.
- Some potential reviewers take too much time to accept or decline to review: When a researcher receives an invitation to review from an editor, he will typically answer quickly. However, in some cases, the researcher does not answer and the editor may give up to 14 days before retracting the invitation. If the potential reviewer does not answer, the editor need to find a replacement. Thus, the task of finding enough reviewers will in some case take more than a month.
- Reviewers are late: This is another major problem. Although reviewers often have 1 month or more to review a paper, they are sometimes very busy and will submit their review not just late but very late. For example, some reviewers are late by more than 30 days… and this is not very rare. In such situation, the editor can either decide to wait or send more reminders to the reviewer or remove him and take decision without him, or start again to invite some new reviewers (which may take more time!)
- The editor take time to handle the reviews: Even after the reviewers have submitted their reviews, the editor may still be busy and wait before submitting his decision. In the worst case, I have seen some editor taking a few weeks for submiting their decision.
- A combination of the above problems: And of course, all the above problems may appear at the same time. If someone is really unlucky, the editor may take a lot of time before inviting reviewers, many reviewers may decline to review and they may take much time to do so. Then, the reviewers may be late or even never submit their reviews. Hence, the editor may have to find some new reviewers again and they could be late again, and then the editor may be late to handle the decision.
- Problems during the second round of review: Besides the above problems, some other problems may occur after the first round of review. For example, during the second round of review, the editor will typically invite the same reviewers from the first round. However, reviewers from the first round may not accept to review the paper again. This happens quite frequently because the reviewers are busy or for other reasons. In that case, the editor may have to invite some new reviewers, which may take extra time. And these new reviewers may ask for more changes in the paper, which may further delay the overall process.
Conclusion
In this blog post, I talked about some common reasons why the reviewing process may be long for some journal papers. As an author, there is not much that one can do to make this process faster. Hope that it has been interesting. If you have any comments or questions, you may post them below in the comment section.
—-
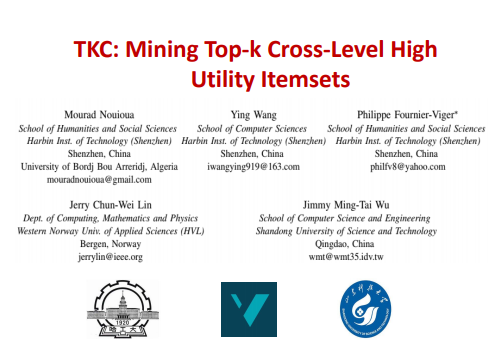
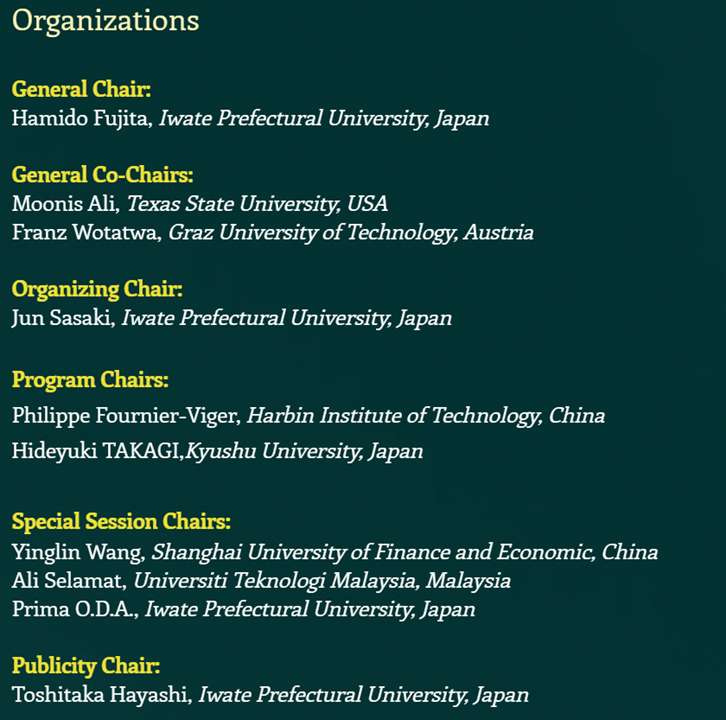
Philippe Fournier-Viger is a professor of Computer Science and also the founder of the open-source data mining software SPMF, offering more than 170data mining algorithms.